PlatformIO
First, let's install PlatformIO, which will include our IDE and build system. While this can be done in a few ways, we're going to be installing it via VScode, for sake of consistency. If you wish to use another IDE like CLion feel free to do so at your own risk.
To begin, navigate to the PIO website.
You should see something like this:
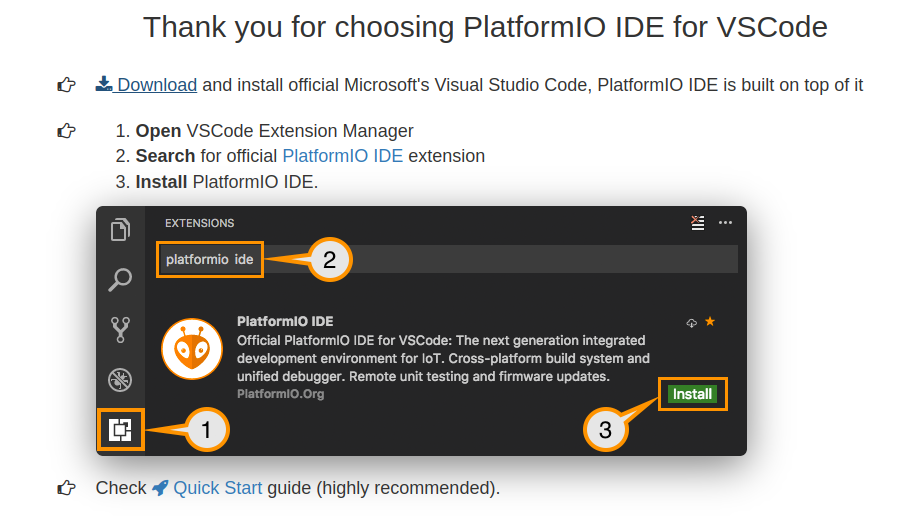
You're going to want to follow these steps, using the links on the site. Once you have the extension installed, I would echo the guide in reccomending the quick start , which gives a very good overview of how to do the normal IDE motions.
Testing the installation
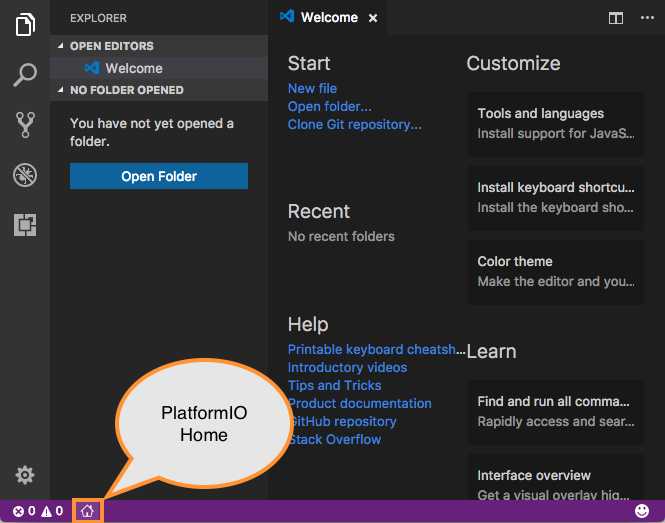
Once you've got everything ready, try to open PIO home by clicking the little house:
This should open the home page:
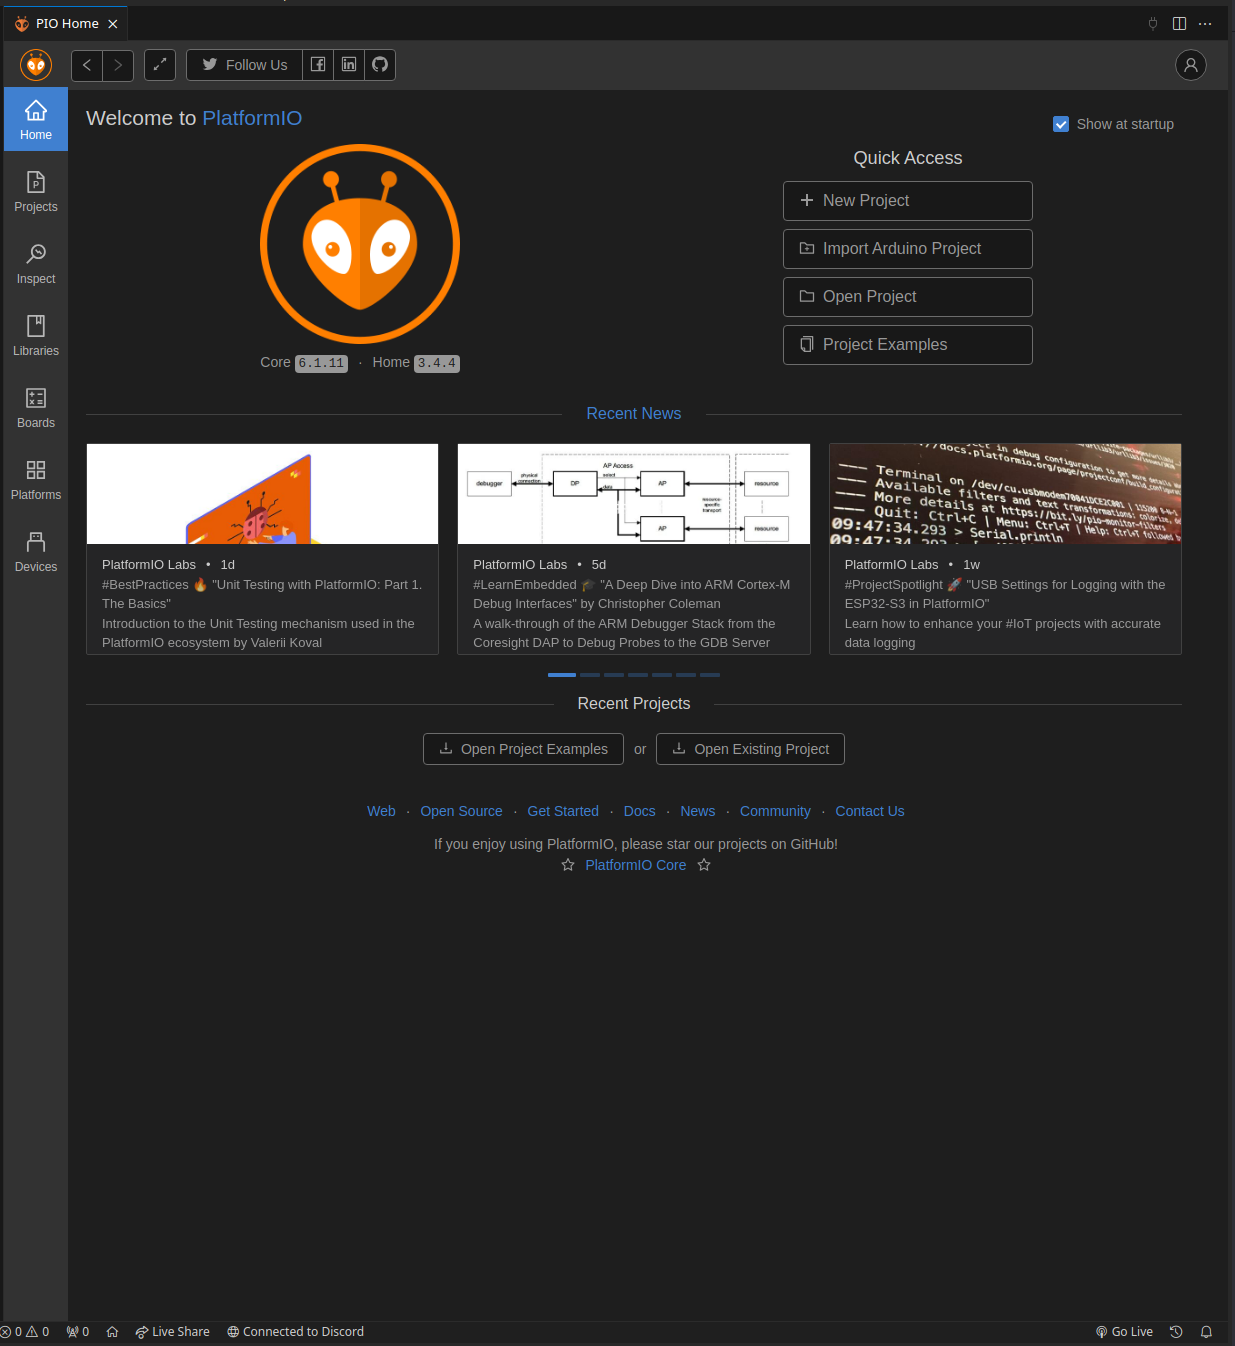
Click on the "New Project" button. This should bring up a modal to set up a new project. Name this project whatever, and select "ST Nucleo H723ZG" as the board. Finally, keep Arduino as the framework, and finish the setup.
After some time processing, the editor should now open to a new Arduino project. On the file explorer on the left,
select src/main.cpp:
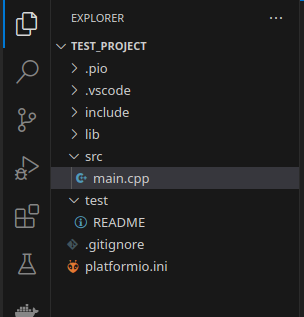
As you can see, the IDE has generated a same Arduino program, which should look quite familiar to anyone who has used the Arduino IDE before.
As well, note the new icons on the bottom bar of the IDE, which represent various PIO commands (build, upload, etc):

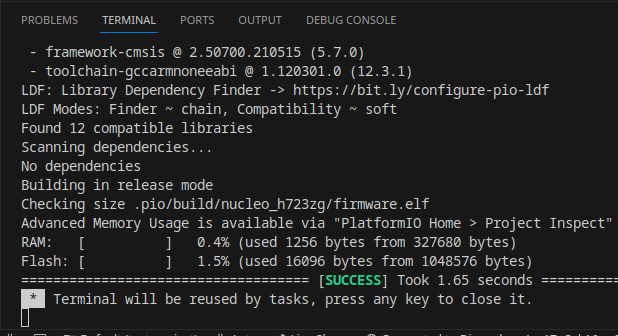
to make sure things are set up correctly, click the check mark shown above, which executes the build command. This should open a new terminal which displays the compilation. If successful, it should look like this:
